Imaging Devices is a Windows Device Manager feature that lists all the imaging devices you have under it, this section allows you to update drivers for existing imaging devices and also disable/install them. A fairly common error with certain webcams is getting a “No driver found” error message when you try to use the webcam. However, when you go to the Control Panel, and open the Device Manager to update or install the driver, you will find no Imaging Devices there, which means that your webcam isn’t even recognized and any other imaging devices you may have will not be visible.

Fortunately, this is a fairly known problem, and there is a solution for it. Try the methods below, and see if any one of them will help you.
Method 1: Restart your computer
The situation you’re in might mean that when Windows booted, it skipped loading the driver for some reason. Restarting your computer will give Windows another chance to load the driver, and may very well solve the problem. However, if it doesn’t, move on to the other method below.
Method 2: Check if your webcam is on
Many laptops, due to the need for additional functionality on the keyboard, but no room for separate keys, come with an FN key, which activates additional functions when you press some of the keys. One of these additional functions might be the webcam. You might’ve, purposely, or by mistake, disabled the webcam, and it will not open, no matter what you do.
The solution for this is to re-enable the webcam using the key. You will find the key in the top row, among the Function keys. Look for a key that either says something like “cam”, or has an icon that resembles a camera. Simultaneously press the FN key, and the key that you found. Hold the key until you see that the LED besides your camera turns on. This should let you know that the camera is on. If there is no webcam LED, hold it for around two seconds. Your webcam should be working now.
Method 3: Add Imaging Devices Manually
- Hold the Windows Key and Press R.
- Type hdwwiz.cpl and Click OK
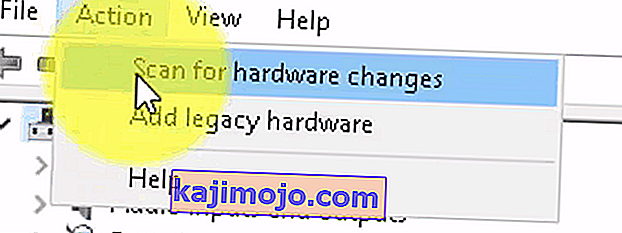
- Click Action and choose Add Legacy Hardware
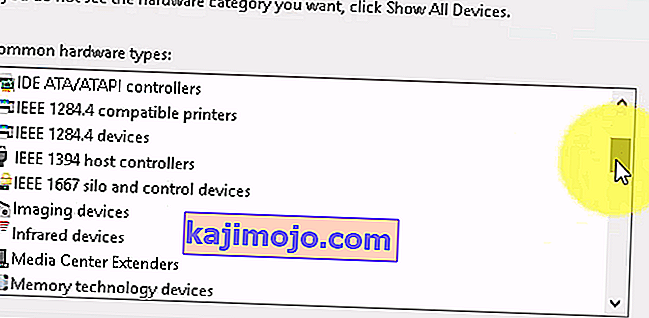
- Click Next, and choose “Install the hardware that i manually select from the list” and click Next, scroll down to choose Imaging Devices and Click Next.

- Locate the missing device through the manufacturer’s tab and add it.


Method 4: Use the Windows Troubleshooter (Windows 10)
The Windows Troubleshooter is pretty useful in situations like this. You can use it to solve quite a lot of problems, and in the last few versions of Windows, it works great. Follow the steps below to fix the problems you might be having with your imaging devices.
1. Press the Start button on your keyboard, and type in Troubleshoot.
2. From the menu, choose Hardware and Devices. This is the option that scans your computer for connected devices (such as your webcam), and potentially fixes any problems you might be having with them.
3. Press Run the troubleshooter. Wait for it to finish, and take a look at the result – it will tell you whether it has fixed your issue or not.
Important Note: Press “Fn” + “F6” and check if that solves this issue for your MSI Laptop. This has reportedly fixed the issue for a lot of MSI Laptop Users.