Windows 10 ir viena no Microsoft gaidītākajām Windows versijām. Lai gan operētājsistēma Windows 8 radīja jaunu tendenci darbvirsmas OS pasaulē, tai bija daži dizaina un veiktspējas jautājumi, uz kuriem galvenā uzmanība tika pievērsta Microsoft operētājsistēmai Windows 10. Tātad Windows 10 Final Build tika atklāts 2015. gada 29. jūlijā, darbvirsmai kā kā arī viedtālruņiem.
Tas ietvēra daudz modifikāciju, ņemot vērā Windows 8 trūkumus. Faktiski tā ir uzlabota Windows versija, taču joprojām katru dienu rodas dažādas sekas dažādiem lietotājiem.
Liela daļa šo seku ir kļūdas, kas rodas, mēģinot veikt noteiktu uzdevumu. Mēģinot atvērt dažādu programmatūru un pārlūkprogrammas Windows 10, daudzi cilvēki ir saņēmuši kļūdas ziņojumu. Šī kļūda nāk ar kļūdas ziņojumu, kurā teikts, ka lietojumprogramma nevarēja pareizi startēt (0xc0000005). Noklikšķiniet uz Labi, lai aizvērtu lietojumprogrammu . Šī kļūda parasti notiek ar interneta pārlūkiem, taču tā neaprobežojas tikai ar tām. Jebkura Windows iekšējā lietojumprogramma šīs kļūdas dēļ var pārtraukt reaģēt. Tātad, tas ir jānovērš, lai atgrieztos pie šīs būtiskās programmatūras.

12.11.2016. Lietotāji ziņoja, ka tālāk uzskaitītās metodes darbosies arī operētājsistēmā Windows 7.
Iemesls Windows 10 kļūdai 0xc0000005:
Ir vairāki zināmi iemesli, kuru dēļ šī kļūda traucē dažādas programmatūras operētājsistēmā Windows 10. Viens no iemesliem, kas tiek uzskatīts par galveno iemeslu, ir trešās puses antivīrusu programma, kas izraisa konfliktus ar izpildāmajiem failiem un ietekmē to darbību. No otras puses, reģistri var tikt bojāti ļaunprātīgas programmatūras un vīrusu dēļ, kas liek programmām rīkoties nenormāli. Dažreiz slikti aparatūras draiveri var būt arī vaininieks, kas izraisa šo kļūdu.
Risinājumi Windows 10 kļūdas 0xc0000005 novēršanai:
Pamatojoties uz iepriekš minētajiem iemesliem, risinājumi ir vienkārši. Tātad, lai atbrīvotos no šī nepatīkamā kļūdas ziņojuma, izmantojiet šādas metodes.
Labot bojātus sistēmas failus
Lejupielādējiet un palaidiet Restoro, lai skenētu un atjaunotu korumpētus un trūkstošus failus no šejienes , kad esat pabeidzis, turpiniet ar tālāk sniegtajiem risinājumiem. Pirms turpināt tālāk norādīto risinājumu, ir svarīgi nodrošināt, ka visi sistēmas faili ir neskarti un nav bojāti.
1. metode: Antivīrusu programmas labošana
Antivīrusu programmas var ietekmēt vairāku programmu izpildāmos failus. Tātad, lai novērstu šo problēmu, jums ir jāatspējo trešās puses antivīrusu programma, lai pārbaudītu, vai tā bija vaininieks. Lūdzu, ņemiet vērā, ka pretvīrusu programmu atspējošana var radīt nopietnus draudus jūsu datoram, kad esat izveidojis savienojumu ar internetu.
Varat arī paļauties uz pašas Windows drošības programmatūru, ti, uz Windows Defender . Tam ir tāda pati funkcionalitāte kā jebkuram citam antivīrusam. Antivīrusu var atspējot, pārejot uz tā iestatījumiem un izslēdzot vairogu.

Kad tas ir atspējots, vēlreiz pārbaudiet, vai nav kļūdas. Ja tas joprojām pastāv, pārejiet uz nākamo metodi.
2. metode: reģistru labošana
Reģistrs ir centrālā datu bāze Windows, kas pastāvīgi tiek izmantota jūsu datora palīdzību to lasīt dažādus failus un iestatījumus, kas ir nepieciešams, lai palaistu. Reģistri var tikt bojāti dažu noteiktu failu bojājumu dēļ, kas nepieciešami, lai viss būtu sakrauts vietā. Tāpēc lielākā daļa ekspertu iesaka pārliecināties, vai dublējat savu reģistru un glabājat šo dublējumu parastajā USB zibatmiņā, lai korupcijas gadījumā varētu atjaunot reģistru iepriekšējā stāvoklī. Bet, ja neesat dublējis reģistru, veiciet šīs darbības, lai labotu reģistrus, lai novērstu kļūdu 0xc0000005 .
1. No šīs saites lejupielādējiet reģistra tīrīšanas programmatūru .
2. Pēc lejupielādes instalējiet to, izmantojot ieteicamos iestatījumus. Pēc instalēšanas procesa beigām atveriet programmatūru.
3. Interfeisā noklikšķiniet uz cilnes Reģistrs, kas atrodas kreisajā rūtī, un noklikšķiniet uz pogas ar nosaukumu Skenēt jautājumus . Tas sāks meklēt kļūdas reģistrā, un, kad meklēšana būs pabeigta, tiks aktivizēta poga Labot izvēlēto problēmu . Noklikšķiniet uz šīs pogas, un viss tiks salabots.

3. metode: kļūdainu draiveru novēršana
Draiveri ir programmatūras programmas, kas palīdz datoram sazināties ar tam pievienoto aparatūru. Tātad, kad tie ir bojāti, aparatūra mēdz izraisīt kļūmes . Šo kļūdaino nirēju labošana var palīdzēt jums vairākos veidos. Veiciet tālāk norādītās darbības.
1. Atveriet ierīču pārvaldnieku , nospiežot Win + X un atlasot to no saraksta.
2. Iekārtā Device Manager ritiniet uz leju, lai redzētu, vai ir kāda aparatūra ar dzeltenu atzīmi. Ja ir, tad ar peles labo pogu noklikšķiniet tur un atlasiet Atjaunināt draivera programmatūru . Ja nesen esat instalējis draiverus, pārinstalējiet arī šos draiverus.

3. Logā, kas parādās pēc tam, noklikšķiniet uz Meklēt automātiski, lai iegūtu atjauninātu draivera programmatūru, lai ļautu tai automātiski meklēt un instalēt draiverus. Ja draiverus esat lejupielādējis manuāli, noklikšķiniet uz tālāk redzamās opcijas, lai tos pārlūkotu un instalētu. Pēc procesa pabeigšanas pārbaudiet, vai nav kļūdas.

4. metode: labojiet BCD
Šī metode lietotājiem jāveic uz savu risku. Tas dažiem darbojās un dažiem nederēja. Pēc šajā rokasgrāmatā norādīto darbību veikšanas jums būs arī atkārtoti jāaktivizē Windows.
- Turiet Windows Key un nospiediet X . Izvēlieties komandu uzvedni (administrēšana)
- Ierakstiet “ bcdedit” un nospiediet taustiņu ENTER. Ja jūsu Windows sāknēšanas iekrāvēja ceļš ir xOsload.exe, jums ir jānoņem daži faili un jālabo BCD. Pēc komandas “ bcdedit” izpildes to var redzēt laukā PATH .
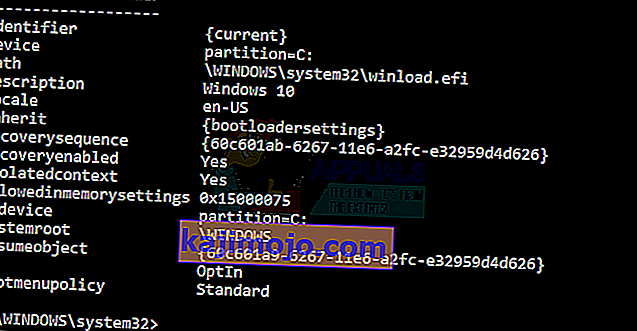
- Kad tas ir izdarīts, izpildiet tālāk norādītās komandas. Dažas no tām var atgriezties neatrastās, bet ignorē kļūdas un turpina darboties līdz pēdējam. Pārliecinieties, ka pēc katras komandas nospiežat taustiņu ENTER.

Del D: \ Windows \ System32 \ xOsload.exe Del D: \ Windows \ System32 \ xNtKrnl.exe Del D: \ Windows \ System32 \ Drivers \ oem-drv64.sys atribūts c: \ boot \ bcd -h -r -s ren c: \ boot \ bcd bcd.old bootrec / rebuildbcd
5. metode: Windows atjauninājumu pārbaude
Windows atjauninājumi bieži satur dažu kļūdu un kļūmju labojumus, taču tie ir arī slaveni ar to, ka ļāvušies jauniem jautājumiem cilvēku datoros. Tomēr šajā solī mēs pārbaudīsim visus jūsu operētājsistēmas atjauninājumus, jo Microsoft bieži novērš visas problēmas, kas rodas no viņu atjauninājumiem. Lai to izdarītu, izpildiet tālāk sniegto rokasgrāmatu.
- Nospiediet “Windows” + “I”, lai atvērtu Windows iestatījumus.
- Iestatījumos noklikšķiniet uz opcijas “Atjauninājumi un drošība” un kreisajā pusē atlasiet opciju “Windows atjaunināšana” .

- On the next screen, click on the “Check for Updates” option and it will automatically prompt Windows to check for any available updates.
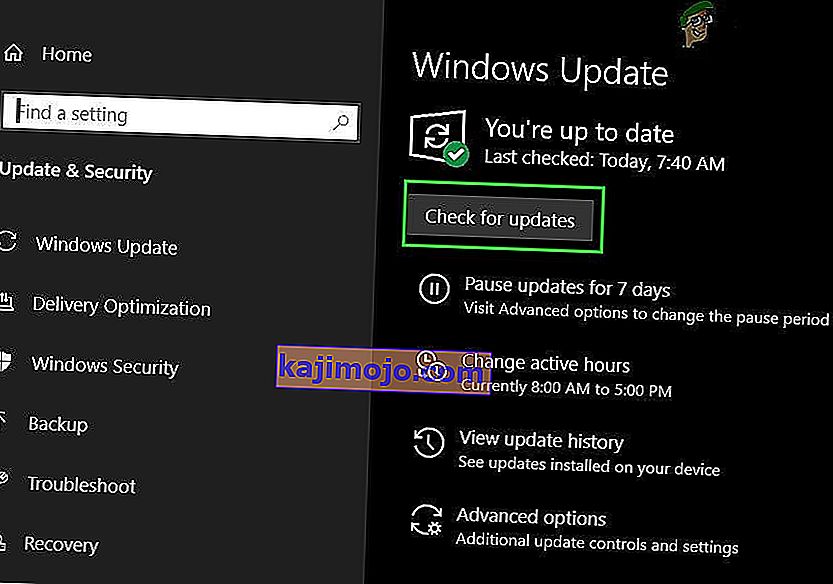
- After the update check is complete, click on the “Download” button to trigger the downloading and installation of new updates on your computer.
- After these updates have been installed, check to see if doing so has fixed the issue on your computer.


Method 6: Restoring Computer
If you have just started getting this issue, it might be getting triggered due to a faulty driver installation or even due to a rogue application that you might’ve installed on your computer recently. Therefore, in this step, we will be reverting the state of the computer to an earlier date and hopefully, this should get our issue fixed if it was due to the above-stated reasons. In order to do this:
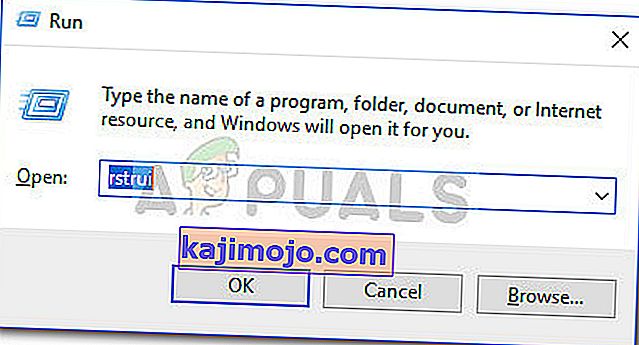
- Press “Windows” + “R” to open the Run prompt.
- Type in “rstrui” and press “Enter” to open the restore management window.
- Click on “Next” and check the “Show more Restore Points” option.
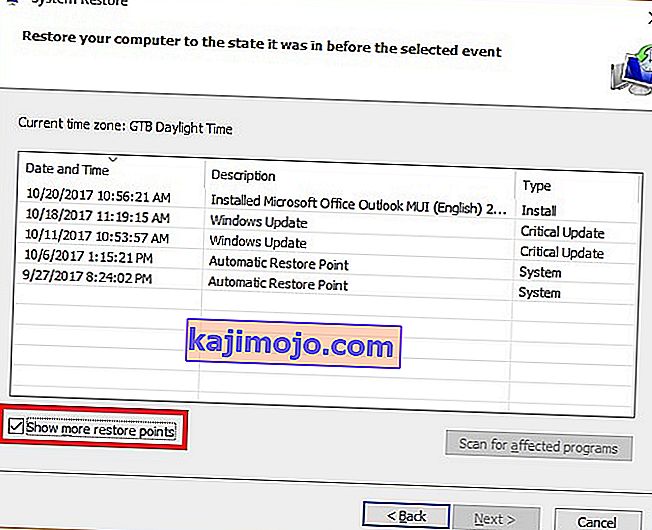
- Select a restore point from the list that is before the date on which this issue started occurring.
- Click on “Next” again and follow the on-screen instructions to revert everything back to the selected date.
- After the restore is completed, check to see if the issue still persists.


Method 7: Enable Firewall
It is possible in some cases, that the error is being triggered because the application is suspicious or at least if it has been marked suspicious and the Windows Firewall isn’t running on your computer to validate this suspicious. Therefore, in this step, we will be making sure that the Windows Firewall is enabled in order to get rid of this error. For that:
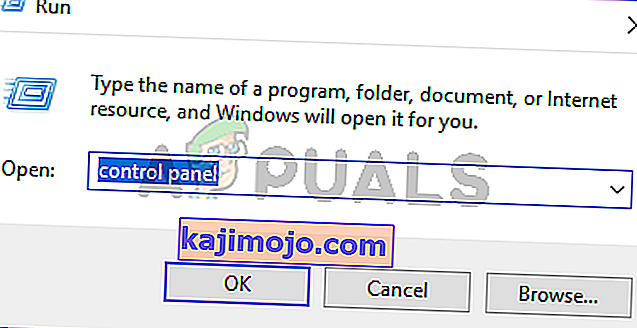
- Press “Windows” + “R” to open the Run prompt.
- Type in “Control Panel” and press “Enter” to launch the classical Control Panel interface.
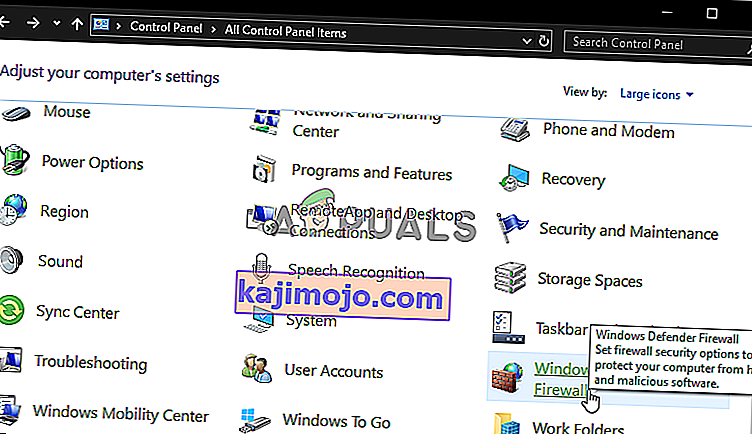
- In the Control Panel, click on the “ViewBy:” option and select the “Large Icons” button.
- After making this selection, click on the “Windows Defender Firewall” option to launch the Firewall and then select the “Turn Windows Defender Firewall On or Off”.
- Make sure to check the “Turn on Windows Defender Firewall” for both the available options to turn the Firewall on.
- After making this selection, save your changes and close out of the Window.
- After doing so, check to see if the issue still persists.


Method 8: Run SFC Scan
In some situations, you might’ve installed a bad driver on your computer or at some point, due to a storage failure, some system files or drivers might’ve been corrupted. Therefore, in this step, we will be running a complete system scan to identify any drivers that are missing signatures or to fix any abnormalities in the system files. For that:
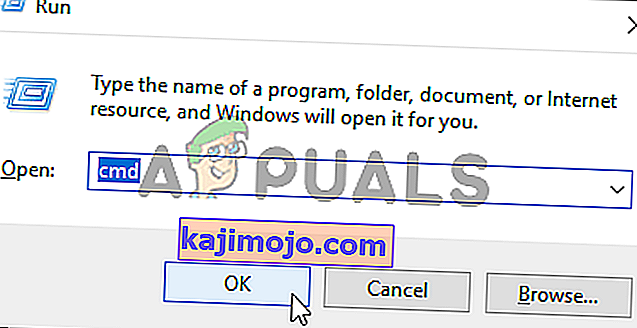
- Press “Windows’ + “R’ to open the Run prompt.
- Type in “cmd” and then press “Shift’ + “Ctrl” + “Enter” to provide admin permissions.Running the Command Prompt
- Type in the following command inside the command prompt and press “Enter” to execute it.
sfc /scannow
- Let the computer scan for any broken or corrupted items and it should automatically replace them with working ones.
- Check to see if doing so fixes the error message.

Method 9: Disabling Data Execution Prevention
Data Execution Prevention is a program that prevents certain programs or executables from being able to run on your computer because it suspects that they might be viruses. Due to this prevention, sometimes, as a false alarm, legit applications might also face issues while trying to run on your computer. Therefore, in this step, we will be disabling this setting from the system configuration panel. For that:
- Press ‘Windows’ + “R’ to open the Run prompt.
- Type in “Control Panel” and press “Enter” to launch the classical control panel interface.

- Inside the Control Panel, click on the “View By:” icon and then select the “Large Icons” option.
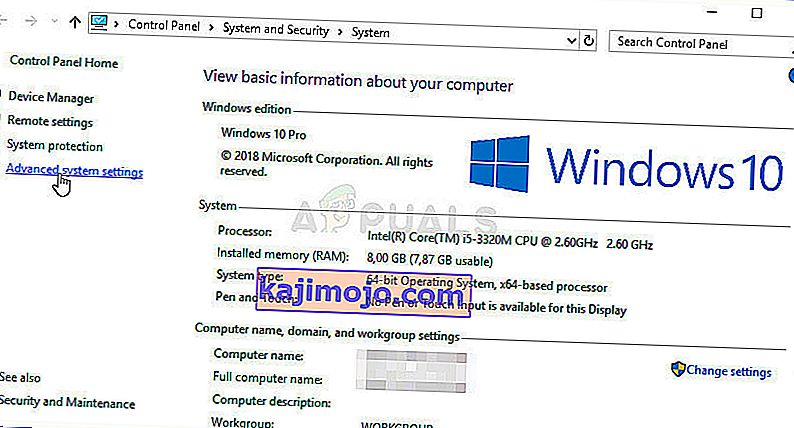
- After selecting Large Icons, select the “System” option.
- Click on the “Advanced System Settings” option on the left side of the screen.
- In the advanced System Settings, click on the “Advanced” tab from the top.
- In the advanced tab, click on the “Settings” option under the “Performance” heading.
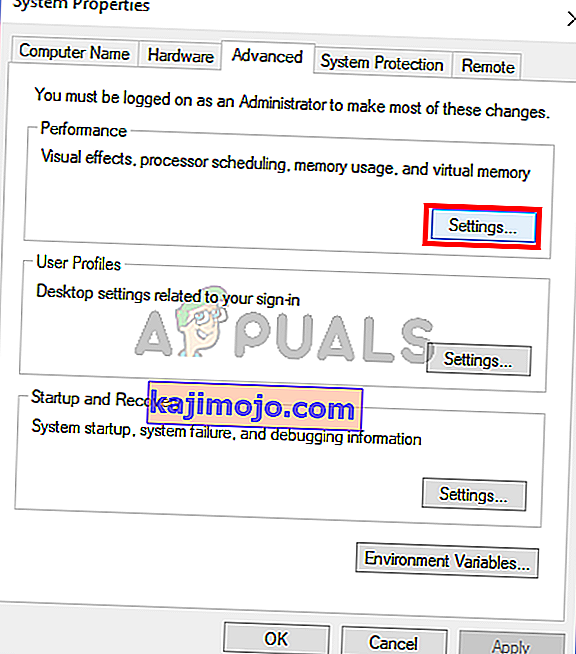
- On the next window that opens up, click on the “Data Execution Prevention” tab, and then select the “Turnon DEP for all programs except thoseI Select” option.
- After that, click on the “Add” option and point to the executable of the application that you are facing issues with.
- This way, that application will no longer come under the jurisdiction of the DEP program.
- Check to see if doing so has fixed the issue.


If the above process is unable to fix the issue, it might be because the executable isn’t the only one being affected by the DEP program. Sometimes the DEP might actually be preventing a herd of executables from being run on the computer and to counter this we will be disabling DEP completely.
Disabling DEP completely cannot be done through any Windows setting and it needs to be done manually through the command prompt. Remember to take this step as a last resort because this can in some cases makes your computer more vulnerable to viruses and malware attacks. In order to disable DEP through the command prompt:
- Press “Windows” + “R’ to open the Run prompt.
- Inside the Run prompt, type in “cmd” and then press “Shift” + “Ctrl” + “Enter” to launch in admin mode.
- Inside the command prompt, type in the following command and press “Enter” to execute it on your computer.
bcdedit.exe /set {current} nx AlwaysOff - Once the command has been executed, run the application that you want to and check to see if the error message still persists.
Method 10: Disable Firewall and Windows Defender
In some situations, the executable that you want to run on the computer might actually be blocked by the Firewall and it would not be able to make contact with its servers this way. Therefore, we will have to allow the executable in our Firewall for both public and private networks which should get it working if the Firewall is preventing it.
In addition to that, sometimes the Windows Defender might prevent the application from running on your computer because its local files might be suspicious and not properly signed. This can be due to a false alarm as well so we will be disabling the Windows Defender for the application as well by adding an exclusion. In order to do that:
- Press “Windows” + “R” to launch the Run prompt.
- Type in “ControlPanel” and press “Enter” to launch the classical control panel interface.
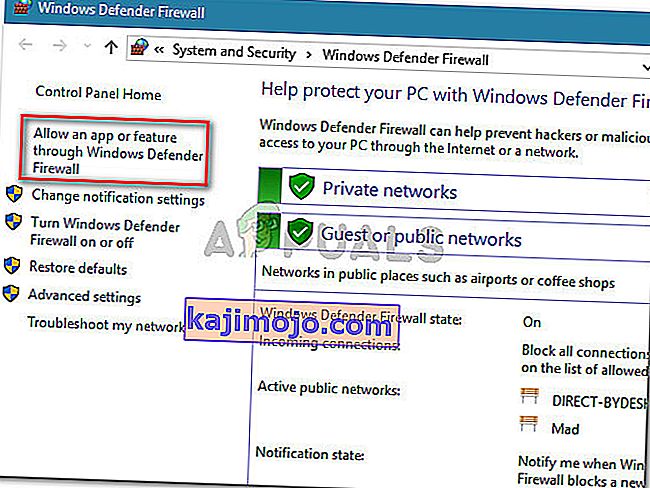
- Click on the “View by:” button, select “Large Icons” and then click on the Windows Defender Firewall option.
- Select the “Allow an app orfeature through the Firewall” button on the left pane and then click on the “Change Settings” button and accept the prompt.
- From here, make sure that you check both the “Public” and the “Private” options for the application and its entries.
- Save your changes and exit out of the window.
- After that, press “Windows” + “I” to launch the settings and click on the “Updateand Security” option.
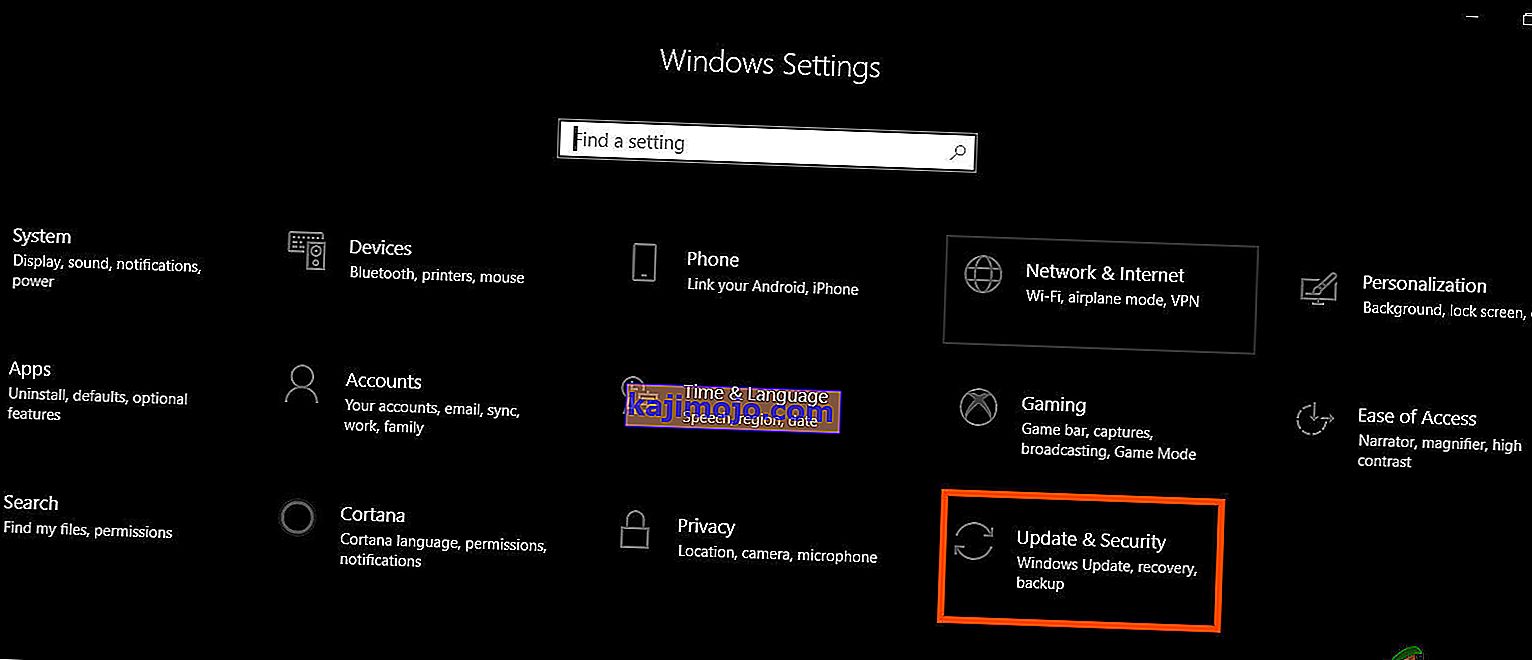
- From the left pane, click on the “Windows Security” button and then click on the “Virus and Threat Protection” button.
- Select the “Manage Settings” button under the Virus and Threat Protection Settings heading.
- Scroll down and click on the “Add or Remove Exclusions” button in the next window.
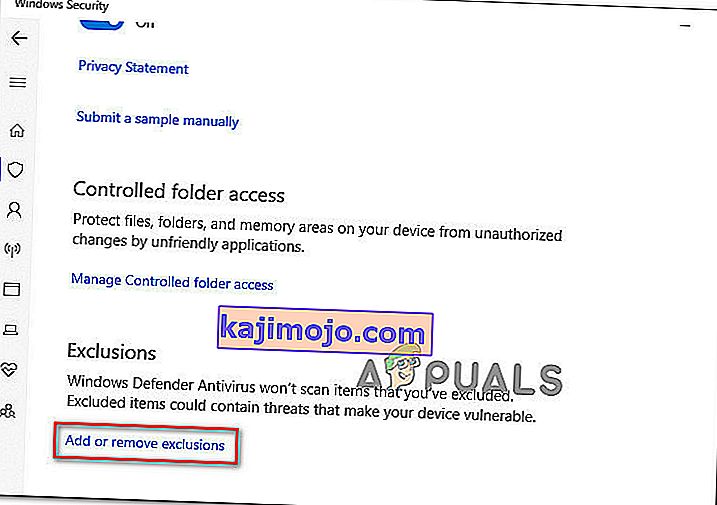
- Click on the “Add an Exclusion” option and select “Folder’ from the File type.
- Make sure to specify the application’s folder with which the issue is occurring and exit out of this window after saving your changes
- Check and see if doing so has fixed the error message.


Method 11: Reinstall Firefox
If you are getting this error while trying to launch Firefox, it might be occurring because the applications haven’t been installed properly on your computer. Therefore, in this step, we will be launching the app management window and uninstalling Firefox after which we will reinstall it completely by downloading it from the Firefox website. For that:
- Press “Windows” + “R” to open the Run prompt.
- Type in “appwiz.cpl” and press “Enter” to open the app management window.
- In the app management window, scroll down and right-click on the “Firefox” application.
- Select “Uninstall” from the list and then follow the on-screen instructions to remove the software from your computer.
- Repeat this step for all instances and bundled applications of the software installed on your computer.
- Make sure to disable any third-party antiviruses at this point to make sure that the software is installed smoothly.
- Head on over to the Mozilla website and click on the download button.

- Click on the downloaded executable and install it on your computer following the on-screen instructions.
- Check to see if doing so has fixed the error message on your computer.


Method 12: Scanning for Malware
It is possible in some cases that the computer has acquired malware that is preventing the user from being able to run all the system functions on their computer. Therefore, in this step, we will be using the default Windows Defender to scan our computer thoroughly for any viruses or malware that might’ve found its way on our computer. For that:
- Press the “Windows” + “I” keys simultaneously on your PC to open the Settings tab.
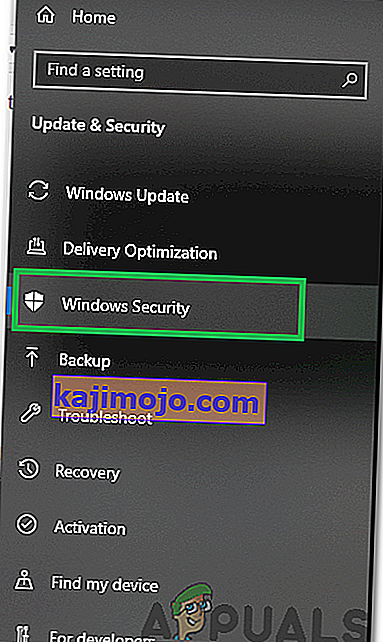
- Navigate to the Update& Security option and then click on the “Windows Security” button on the left tab.
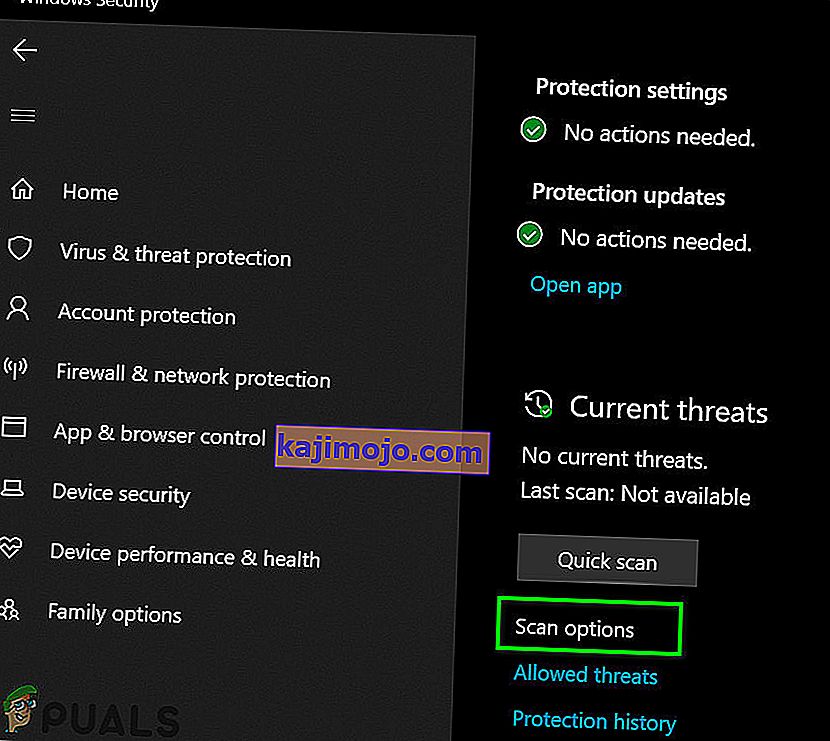
- After that, click on the “Open Windows Security” and select the “Virus and Threat Protection” option.
- After that, click on the “Scan Options” button below the “Quick Scan” window.
- Click on the “Full Scan” option and then hit the button of “Scan Now”.
- Wait for a few seconds while this process gets completed and then finally check if the error gets resolved now.


Microsoft Security Scanner is an additional tool that you can use to test the system for any further viruses and malware because sometimes the default tool isn’t able to perform the scan properly. Therefore, in this step, if the issue still hasn’t been resolved, we will be using the Microsoft Security Scanner to further make sure for any issues.
- Launch your browser and download the Microsoft Security Scanner from here.
- After downloading the executable, run it on your computer and let it install.
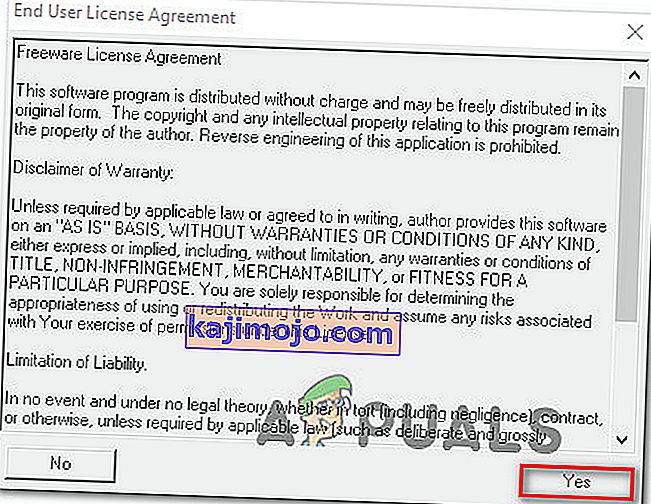
- Accept the License Agreement terms and click on “Next”.
- Select “Full Scan” and click on “Next”.
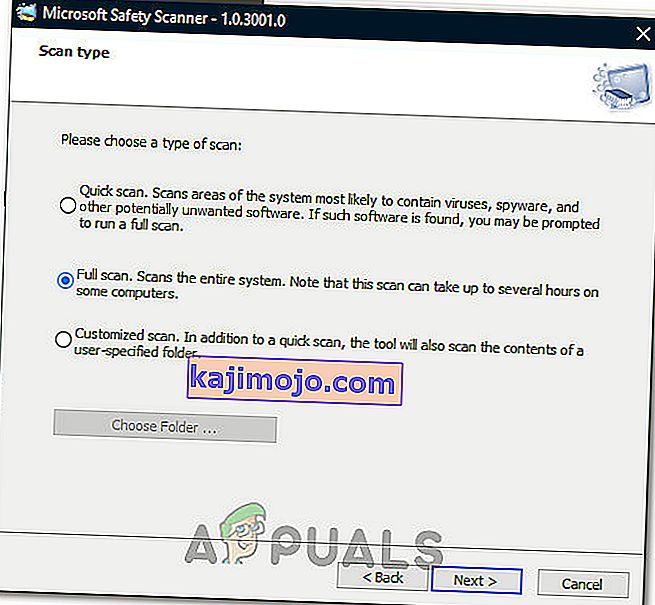
- After you opt for a full scan, the software will start scanning your entire computer to look for any malware or viruses that might’ve disguised themselves as normal executables or applications.
- After this scan has been finished, check to see if the error message still persists.


Method 13: Install Missing Drivers
It is possible in some situations that your device is missing certain drivers due to which this particular issue is being triggered on your computer. Therefore, we will be checking for any missing drivers and then we will check to see if the error is fixed. In order to do this, follow the guide below.
- Download Driver Easy on your computer.

- Run the downloaded executable and install the software on your computer.
- Run the check and see if there are any missing drivers on your computer.
- Install these missing drivers and then install them either manually or automatically using the Software.
- After installing all the missing drivers, check to see if the issue still persists.

Method 14: Reconfigure Registry
It is possible that in some cases, you haven’t properly configured all the registry settings or that you unknowingly configured something incorrectly. Therefore, in this step, we will be reconfiguring our Registry to fix a certain key that sometimes, if misconfigured, causes this particular error on Windows. In order to do this, follow the guide below.
- Press “Windows” + “R” to open the Run prompt.
- Type in “regedit” and press “enter” to launch the registry editor.

- Inside the registry editor, navigate to the following location.
HKLM\SOFTWARE\Microsoft\Windows NT\CurrentVersion\Windows\AppInit_Dlls
- Double click on the “LoadAppInit_DLLs” entry on the right side of the screen.
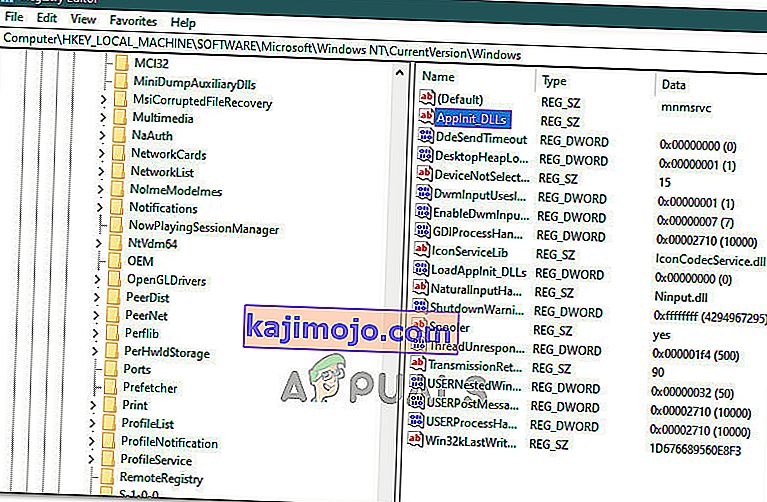
- Change the value of this registry from “1” to “0”.
- Save your changes and exit the registry editor.
- Check to see if doing so has fixed the error.


Method 15: Update Disk Drivers
In some cases, the Disk Drivers that are being used to control your Storage and other Disks installed on the computer might have been outdated due to which the error is being triggered. Therefore, in this step, we will first be opening the Device Management Window and from there, we will be updating these drivers. In order to do so, follow the steps mentioned below.
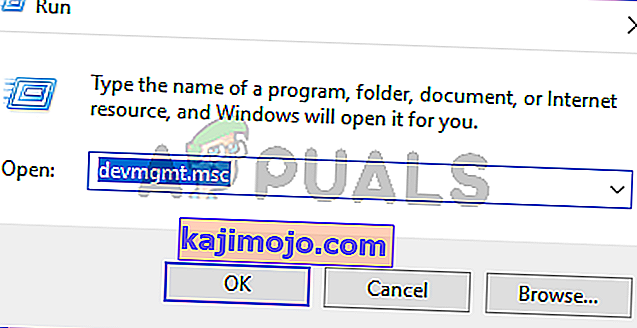
- Press “Windows’ + “R” to open the Run prompt.
- Type in “Devmgmt.msc” and press “Enter” to launch the device management window.
- In the Device Manager, double click on the “DiskDrives” option to expand it.
- Right-click on the storage device listed and select the “Update Driver” option.
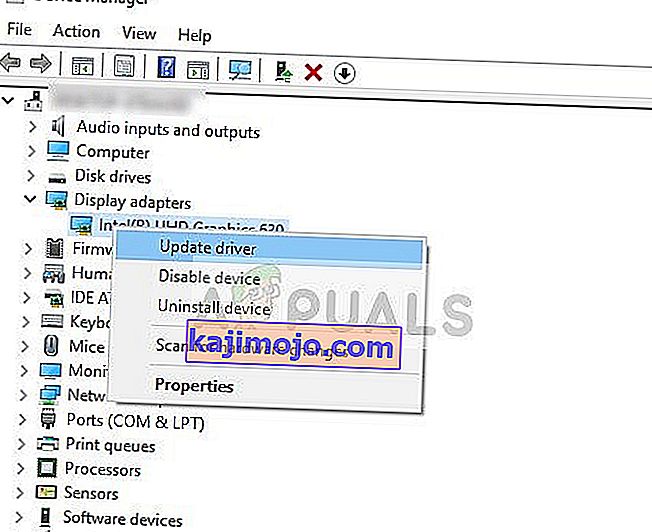
- Select the “Search Automatically for Drivers” option and let the setup search.
- If there are any drivers available, Windows will automatically check for them and install them on your computer.
- Check to see if doing so has fixed the issue.


Method 16: Disabling Automatic Updates and Uninstalling Updates
It is possible in some cases, that this error is stemming from a faulty update install. Microsoft is notorious for pushing out updates that aren’t properly customized to work for all hardware combinations and often go on to break things instead of making them better. Therefore we will make sure that the recent update isn’t installed on our computer.
In order to do this, we will have to first disable automatic updates on our computer and then we will be uninstalling the recently installed updates. Make sure to back up any important data that you don’t want to lose just in case this goes bad.
- Press “Windows” + “R’ to open the Run prompt.
- Type in “service.msc” and press “Enter”.
- Scroll through the list and double click on the “Windows Update” service.
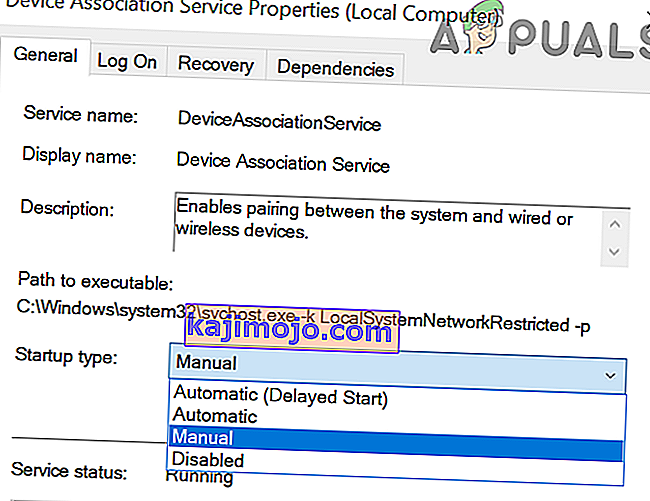
- Click on the “Stop” button and then click on the “Startup Type” dropdown.
- Select “Disabled” from the list and select the “Apply” button from the window.
- Click on “OK” to close out of this window.
- Check to see if doing so has stopped your computer from updating.


After stopping the computer from updating, we will now be uninstalling the recent updates that have been installed on your computer. For that:
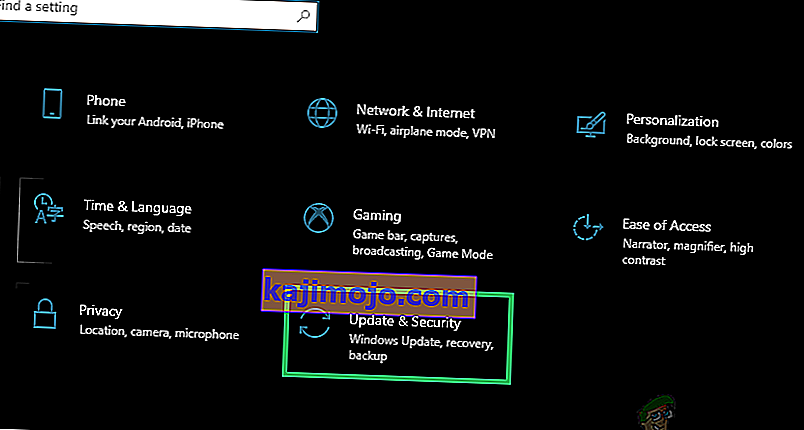
- Press “Windows” + “I” buttons to open the settings.
- In settings, click on the “Update and Security” option and then select the “Windows Update” button from the left pane.
- In the Windows Update, click on the “View Update History” option.
- In the Update History, click on the “Uninstall Updates” option and it should take you to the uninstallation screen where all the recently installed updates will be listed.
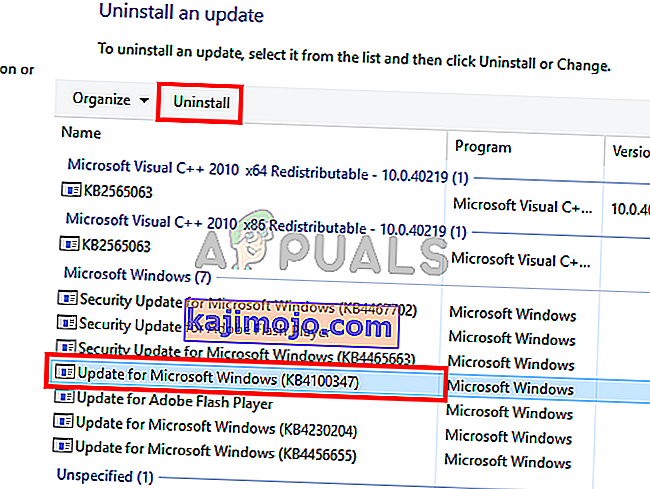
- From the list, right-click on the update that was installed recently and caused this error on your computer.
- Right-click on this update and select the “Uninstall” button to remove it completely from the computer.
- Follow through with the on-screen instructions.
- Check to see if uninstalling has fixed this issue.


Additional Fixes:
- In addition to some of the recommendations given above, you should try to check if there are any bad memory modules (RAM) installed on your computer which can be a cause of this.
- Pārliecinieties arī, vai esat pārbaudījis, vai RAM nav pārsniegts līdz līmenim, kas pārsniedz tā ieteikto robežu. Ja esat to izdarījis, mēģiniet atjaunot rūpnīcas noklusējuma iestatījumus un pārbaudiet, vai tas novērš jūsu problēmu.