Lietotāji parasti sastopas ar šo problēmu pēc mēģinājuma atjaunināt Windows 10, izmantojot Windows Update (WU). Kļūda 0x8024a105signalizē par problēmu ar automātiskās atjaunināšanas komponentiem.Parasti pēc neveiksmīga atjauninājuma lietotājiem tiks parādīts šāds ziņojums:
"Lejupielādējot dažus atjauninājumus, radās problēmas, taču mēs vēlāk mēģināsim vēlreiz. Ja jūs to joprojām redzat, mēģiniet meklēt tīmeklī vai sazināties ar atbalsta dienestu. Šis kļūdas kods varētu palīdzēt: (0x8024a105). ”

Ja jūs pašlaik cīnāties ar šo problēmu, mums ir izdevies noteikt dažus dzīvotspējīgus labojumus, kas ir veiksmīgi palīdzējuši lietotājiem līdzīgā situācijā kā jūs. Lūdzu, izpildiet katru no tālāk norādītajām metodēm, līdz atrodat risinājumu, ar kuru jūsu problēmu var atrisināt.
1. metode: palaidiet Windows atjaunināšanas problēmu novēršanas rīku
Sāksim vienkārši, palaižot Windows atjaunināšanas problēmu novēršanas rīku. Dažiem lietotājiem ir izdevies ļaut atjauninājumiem iziet cauri, ļaujot iebūvētajam problēmu novēršanas rīkam automātiski salabot bojātos komponentus. Šeit ir īss ceļvedis par to, kā palaist Windows atjaunināšanas problēmu novēršanas rīku :
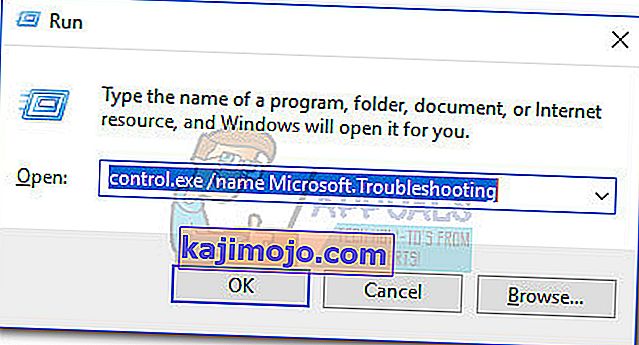
- Nospiediet Windows taustiņu + R, lai atvērtu palaišanas logu. Ierakstiet vai ielīmējiet šo.
control.exe / nosaukums Microsoft. Problēmu novēršana
Nospiediet Enter, lai atvērtu iebūvēto problēmu novēršanas rīku.
- Logā Traucējummeklēšana noklikšķiniet uz Windows Update , pēc tam noklikšķiniet uz Palaist problēmu novēršanas rīku .
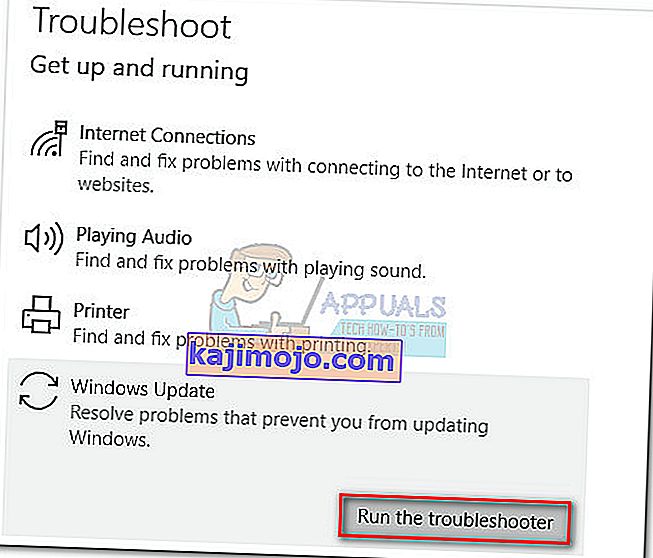
- Pagaidiet, līdz problēmu novēršanas rīks atklāj problēmas ar jūsu atjaunināšanas klientu. Ja tam izdodas identificēt kādas problēmas, izpildiet ekrānā redzamos norādījumus, lai aktivizētu automātisko remontu. Parasti jums vienkārši jāizvēlas Lietot šo labojumu .
- Ja atjaunināšanas problēmu novēršanas rīks ziņo, ka tas kaut ko ir izdevies salabot, restartējiet datoru un pārbaudiet, vai problēma ir novērsta nākamajā startēšanas reizē.


Ja atjauninājumi joprojām neizdodas ar kļūdu 0x8024a105 , pārejiet uz 2. metodi.
2. metode: mainiet lietotāja konta kontroles (UAC) iestatījumus
Ja problēmu risinātājam neizdevās automātiski novērst problēmu, pārbaudīsim, vai problēmu neizveido iestatījums Lietotāja konta kontrole . Kā izrādās, daži atjauninājumi neizdevās ar kļūdu 0x8024a105, jo reģistrētajam kontam nav nepieciešamo atļauju. Jūs varat viegli novērst šo problēmu, administratoram mainot ar jūsu kontu saistītās lietotāju kontu atļaujas. Šeit ir īss ceļvedis, kā to izdarīt:
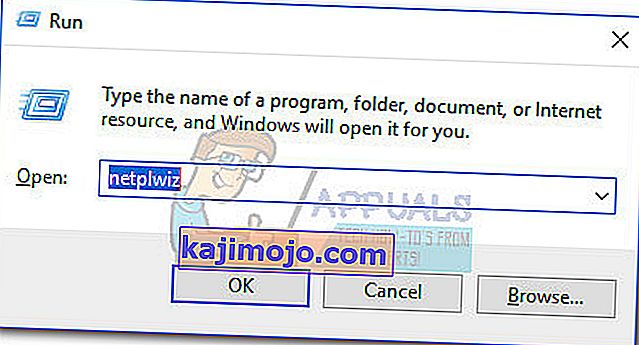
- Nospiediet Windows taustiņu + R, lai atvērtu palaišanas logu. Ierakstiet vai ielīmējiet “ netplwiz ” un nospiediet taustiņu Enter, lai atvērtu iebūvēto problēmu novēršanas rīku.
- Jo Lietotāji cilni, atlasiet lietotāju, ka jūs izmantojat, un noklikšķiniet uz Properties.
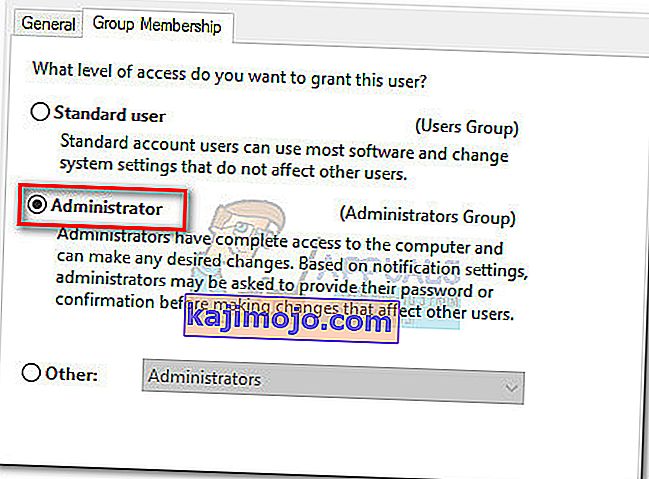
- Logā Rekvizīti dodieties uz Dalība grupā un iestatiet administratora piekļuves līmeni . Nospiediet Lietot, lai saglabātu izmaiņas.
 Piezīme: Ja piekļuves līmenis jau ir iestatīts uz Administrators , pārejiet tieši uz 3. metodi .
 - Pārstartējiet datoru un pārliecinieties, vai esat pieteicies ar to pašu lietotāja kontu. Kad startēšana ir pabeigta, mēģiniet vēlreiz veikt atjauninājumus. Ja redzat, ka tie neizdodas ar kļūdu 0x8024a105 , pārejiet uz trešo metodi.

 Piezīme: Ja piekļuves līmenis jau ir iestatīts uz Administrators , pārejiet tieši uz 3. metodi .
3. metode: Windows atjauninājumu komponentu atiestatīšana manuāli
Ja iepriekš minētās metodes ir izrādījušās neveiksmīgas, mums nav citas izvēles, kā manuāli atiestatīt Windows atjauninājumu komponentus un pēc tam restartēt Windows atjaunināšanas procesu. No četrām piedāvātajām metodēm šai ir lielāka veiksmes varbūtība, taču tai ir nepieciešams vairāk pielāgot.
Šeit ir īss ceļvedis par Windows atjauninājumu komponentu atiestatīšanu:
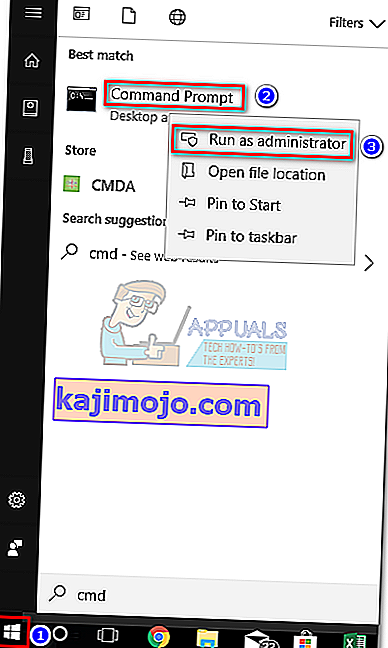
- Noklikšķiniet uz Windows sākuma joslas (apakšējā kreisajā stūrī) un meklējiet “ cmd ”. Pēc tam ar peles labo pogu noklikšķiniet uz komandu uzvedne un izvēlieties Palaist kā administrators .
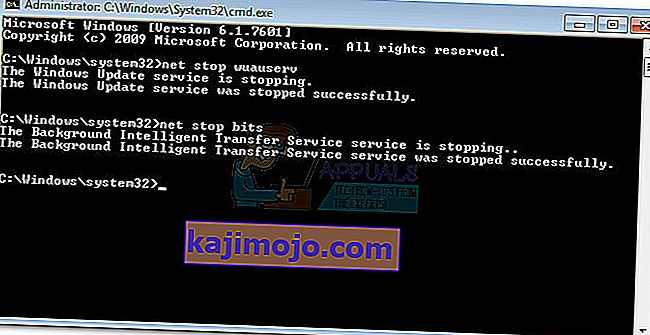
- Jo Command Prompt, mēs gatavojamies, lai apturētu pakalpojumus MSI Installer, Windows Update, BITS un kriptogrāfisko . Lai to izdarītu, ievietojiet šādas komandas un pēc katras nospiediet Enter:
net stop wuauserv net stop cryptSvc neto stop biti net stop msiserver
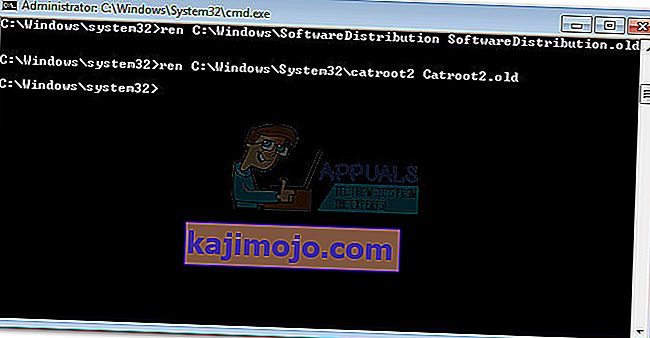
- Kad visi pakalpojumi ir apturēti, pārdēvēsim mapi SoftwareDistribution un mapi Catroot2 , lai piespiestu Windows Update atjaunot tās komponentus. Ielīmējiet vai ierakstiet abas komandas paaugstinātajā komandu uzvednē un pēc katras nospiediet taustiņu Enter:
ren C: \ Windows \ SoftwareDistribution SoftwareDistribution.old
ren C: \ Windows \ System32 \ catroot2 Catroot2.old
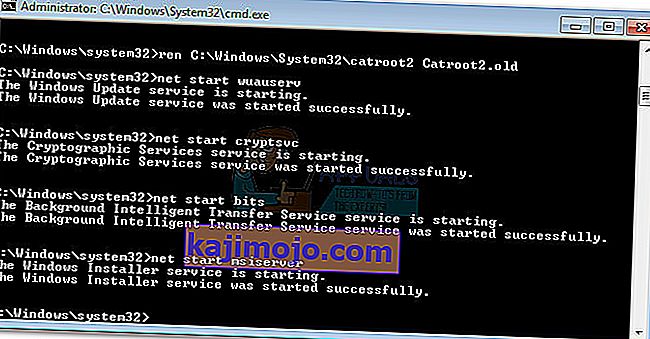
- Kad abas mapes ir pārdēvētas, ir pienācis laiks restartēt MSI Installer, BITS, Cryptographic un Windows Update pakalpojumus. Lai to izdarītu, komandu uzvednē ierakstiet šādu komandu un pēc katras komandas nospiediet taustiņu Enter :
net start wuauserv net start cryptSvc neto sākuma biti net start msiserver
- Kad pakalpojumi ir restartēti, aizveriet paaugstināto komandu uzvedni un restartējiet datoru.


4. metode: dzēst programmatūras izplatīšanas mapi
Dažos gadījumos problēmu var novērst, vienkārši izdzēšot mapi, izmantojot Powershell. Tāpēc šajā solī vispirms darbināsim PowerShell kā administratoru un pēc tam izdzēsīsim mapi Programmatūras izplatīšana, lai sāktu atjaunināšanas procesu. Par to:
- Nospiediet "Windows" + "X" pogas vienlaicīgi, un izvēlieties "Power Shell (Admin)" variantu.
- Ievadiet šādu komandu un nospiediet taustiņu Enter, lai to izpildītu.
neto pietura wuauserv
- Atkal ierakstiet šādu komandu un nospiediet taustiņu Enter.
neto biti
- Visbeidzot, dodieties uz nākamo mapi.
C: \ Windows \ SoftwareDistribution
- Nospiediet “Ctrl” + “A”, lai atlasītu visu mapes saturu, un nospiediet “Shift” + “Del” pogu, lai tos neatgriezeniski izdzēstu.

- Apstipriniet visus norādījumus, kas brīdina par šo failu dzēšanu, un pēc tam restartējiet datoru, lai pabeigtu procesu.
- Tagad mēģiniet atjaunināt un pārbaudīt , vai problēma joprojām pastāv.

Kad dators ir dublējies, pārbaudiet, vai jūs varat instalēt atjauninājumus bez kļūdas 0x8024a105 . Ja to izdarīsit, mēģiniet veikt SFC skenēšanu, lai novērstu problēmas ar trūkstošajiem failiem vai draiveriem.
5. metode: atjauniniet, izmantojot multivides izveides rīku
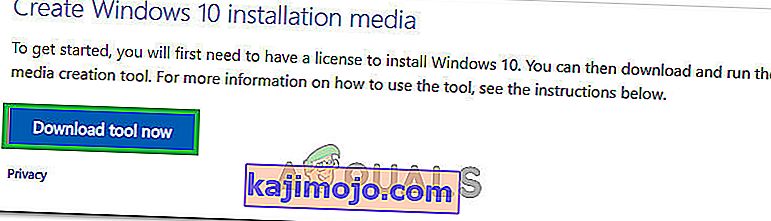
Dažos gadījumos, iespējams, nevarēsit atjaunināt datoru, izmantojot noklusējuma Windows atjaunināšanas procesu, jo jūsu sistēma Windows nevar izveidot pareizu savienojumu ar atjaunināšanas serveriem. Tāpēc šajā solī mēs izvietosim Windows Media Creation Tool, lai veiktu atjaunināšanu mūsu vietā. Tas automātiski lejupielādēs un instalēs atjaunināšanas failus, lai jauninātu mūsu Windows. Par to:
- Lejupielādējiet Windows Media Creation Tool šeit.
- Run the executable and follow with the on-screen instructions for the initial setup.
- After the initial setup, select the “Upgrade this PC” option and click on “Next”.
- Accept the License terms and let the installer run.
- The tool will now automatically grab the update files from the servers and update your computer to the latest version available.
- Check to see if doing so has fixed the error.

Method 6: Delete Download Folders
When a new update is downloaded, it is generally stored in some folders on the computer. In this step, we will be deleting some of these folders and which will prompt the operating system to go ahead and download new files which can sometimes clear out the error and the update will be applied normally. For that:
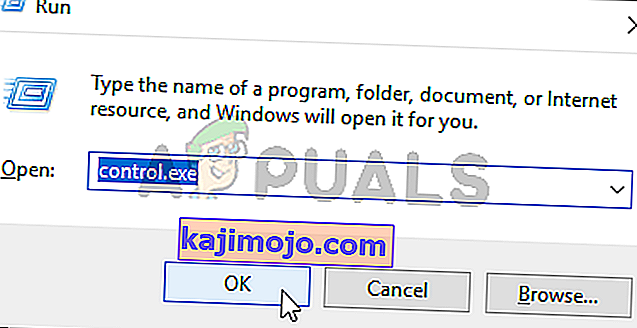
- Press “Windows” + “R” to open the Run prompt.
- Type in “Control Panel” and press “Enter” to launch the classical control panel interface.
- In the Control Panel, click on the “View By:” option and select “Large Icons” from the list.
- Click on the “File Explorer Options” and a new window should pop up.
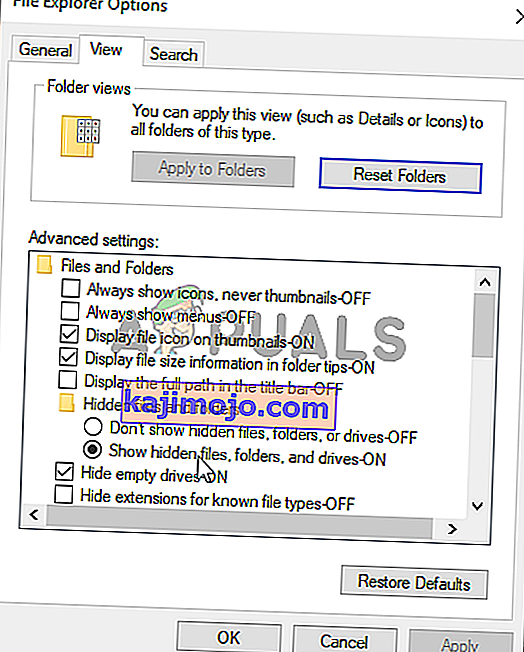
- In the File Explorer Options, click on the “View” button and then double click on the “Files and Folders” button to expand it.
- After that, double click on the ‘Hidden Files and Folders” to expand it as well.
- Check the “Show hidden Files, Folders and Drives” option and click on “Apply” to save your changes.
- Click on “OK” to close out of the window and press “Windows’ + “E” to launch the file explorer.
- In the File Explorer, delete the “$Windows.~WS” and “$Windows. ~BT” folders.
- Make sure to clear out the recycle bin as well so that they cannot be recovered.
- After this, press “Windows’ + “I” to launch settings and click on the “Update and Security” option.

- In Update and Security, click on the “Windows Update” option on the left pane and then click on the “Check for Updates” button.
- Updates will now automatically be downloaded and installed.
- Check to see if the issue persists.


Method 7: Resetting Catroot2 Folder
In some cases, it is possible that the Catroot2 folder and its files have either been corrupted or they have been misconfigured due to which this issue is being triggered. Therefore, in this step, we will first be making some changes from the command prompt and then we will delete the files inside that folder. For that:
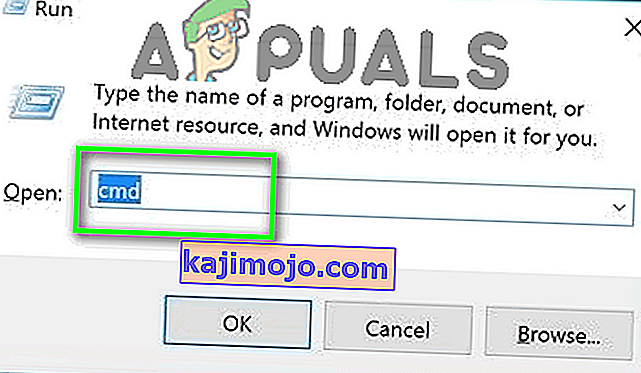
- Press “Windows’ + “R” to launch the run prompt.
- Type in “cmd” and then press “Shift” + “Ctrl” + “Enter” to provide administrative privileges.
- Type in the following command and press “Enter” to execute it.
net stop cryptsvc
- After you have stopped the cryptsvc using the command above, type in the following commands into the command prompt one by one and press “Enter” after each to execute them on your computer.
md %systemroot%system32catroot2.old xcopy %systemroot%system32catroot2 %systemroot%system32catroot2.old /s
- After executing the commands stated above, we will be deleting all the files from the catroot folder without deleting the folder itself.
- Press “Windows’ + “R” to open the Run prompt and type in the following address to navigate to the catroot folder.
C:/Windows/System32/catroot2
- Press “Ctrl” + “A” once inside the folder to select all items inside it and press “Shift” + “Delete” to remove them from your computer.
- After removing these, confirm any prompts that might spring up on your screen.
- After that, open the command prompt back up and execute the following command.
net start cryptsvc
- Try to update your computer and check to see if the issue still persists.


Method 8: Configuring Services to Start Automatically
Sometimes, your computer might be preventing certain services from starting and functioning in the background due to which the update might not be properly installed or configured to be applied on your computer. Therefore, in this step, we will be setting up some services to startup automatically. For that:
- Press “Windows’ + “R” to launch the Run prompt.
- Type in “cmd” and press “Ctrl” + “Shift” + “Enter” to provide admin permissions.

- Type in the following commands one by one in the command prompt and press “Enter” after each to execute them.
SC Config wuauserv start=auto SC Config bits start=auto SC Config cryptsvc start=auto SC Config trustedinstaller start=auto
- This way, we will have configured these services to startup and run automatically in the background.
- Check to see if the issue persists.

Method 9: Re-register Windows Update and BITS Files
It is possible that some windows update files and Bits files might not be properly registered on your computer. Therefore, in this step, we will be re-registering these files on the computer and then we will check to see if that fixes our issue. For that:
- Press “Windows’ + “R’ to open the Run prompt.
- Type in “cmd” and then press the “Ctrl” + “Shift” + “Enter” buttons to provide admin permissions.

Type in the following commands one by one and press “Enter” after each to register the components.regsvr32.exe atl.dll regsvr32.exe urlmon.dll regsvr32.exe mshtml.dll regsvr32.exe shdocvw.dll regsvr32.exe browseui.dll regsvr32.exe jscript.dll regsvr32.exe vbscript.dll regsvr32.exe scrrun.dll regsvr32.exe msxml.dll regsvr32.exe msxml3.dll regsvr32.exe msxml6.dll regsvr32.exe actxprxy.dll regsvr32.exe softpub.dll regsvr32.exe wintrust.dll regsvr32.exe dssenh.dll regsvr32.exe rsaenh.dll regsvr32.exe gpkcsp.dll regsvr32.exe sccbase.dll regsvr32.exe slbcsp.dll regsvr32.exe cryptdlg.dll regsvr32.exe oleaut32.dll regsvr32.exe ole32.dll regsvr32.exe shell32.dll regsvr32.exe initpki.dll regsvr32.exe wuapi.dll regsvr32.exe wuaueng.dll regsvr32.exe wuaueng1.dll regsvr32.exe wucltui.dll regsvr32.exe wups.dll regsvr32.exe wups2.dll regsvr32.exe wuweb.dll regsvr32.exe qmgr.dll regsvr32.exe qmgrprxy.dll regsvr32.exe wucltux.dll regsvr32.exe muweb.dll regsvr32.exe wuwebv.dll
- After executing the commands listed above, check to see if the issue still persists.

Note: After trying the following fixes, if the issue still persists, try to perform a clean boot and check if that fixes it. If it does, update in the clean boot and then get out of it after the update is completed. If that doesn’t work, try to go for a clean install of Windows.